When you want to take a group photo, but no stranger is around to take one for you (or you don’t want to hand them your expensive new smartphone), you can use your iPhone’s camera timer to get the job done. This option is a little tricky to find, so I’ll walk you through how to locate it and how to disable it when you’re done.
Why use a camera timer
The camera timer is useful for more than just group pictures. Photographers sometimes use a three-second delay to ensure that the frame is just right before they take a photo, because pressing down the shutter button can disturb it. It’s also a really useful tool to get great shots when the weather is too cold and it’s hard to keep your hands steady. The timer lets you quickly rest the phone on any surface and capture photos that way instead.
How to use a camera timer on your iPhone

Credit: Pranay Parab
Follow these steps to set up a selfie timer or a rear camera timer on your iPhone:
-
When you open the Camera app on your iPhone, you’ll see an up-arrow icon towards the top of the screen, just below the notch. Tap the up-arrow button.
-
You’ll notice that the icon is now pointing downwards, and that a row of options has opened up in between the viewfinder and the shutter button (the big white circle).
-
In this row of tools, tap the Clock button on the far right.
-
You’ll now see four options—Timer Off, 3s, 5s, and 10s. This lets you either keep the camera timer off, or add a delay of three, five, or 10 seconds between when you press the shutter button and when the photo is taken. Tap any of the three timer options.
-
When you’re ready to take a photo, tap the shutter button and you’ll notice that your iPhone now waits before taking a photo.
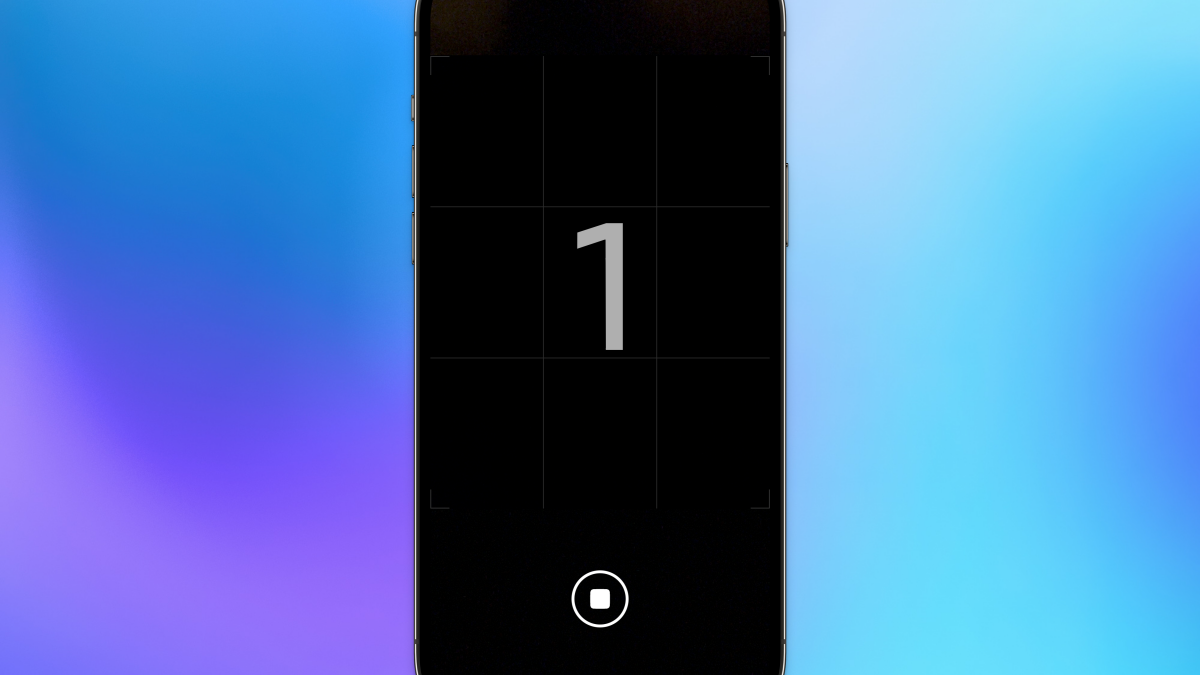
When you enable the camera timer, you’ll see a countdown in the viewfinder and the flash will blink in sync with the countdown. That lets you keep an eye on the countdown even if you’re using the rear camera for the picture.
How to disable the camera timer on your iPhone

Credit: Pranay Parab
Once you set up the camera timer, it stays on until you manually disable it. This delay is useful for some photos, but for most, it’s an annoyance. Here’s how to disable the camera timer on your iPhone:
-
Open your iPhone’s Camera app.
-
Tap the up-arrow icon below the notch. This will reveal a row of camera tools below the viewfinder.
-
Tap the Clock icon, which is towards the right in the row of tools.
-
Select Off.
-
Alternatively, you may tap the timer icon in the top-right corner of the screen, which appears only when the camera timer is enabled. It displays the duration of the timer: 3s, 5s, or 10s.
-
This reveals the timer option below the viewfinder. Tap Off to disable the timer.
This will keep the camera timer disabled until you switch it on again.


